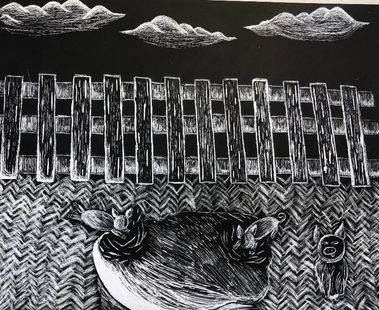
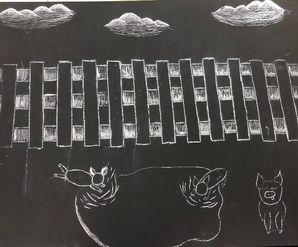
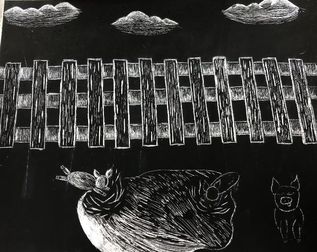
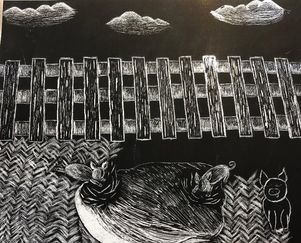
 1)For this project we had to show something in motion. I chose pigs playing in mud. To show motion I have the two pigs jumping into the mud puddle and it shows the motion with making it look like the mud is splashing up as they are going in.
2)Textures made some things in project look a lot better. For example the grass I used a tool that made it really realistic and more like grass then just lines. Also in the fence the texture was used to make the wood look rough. 3)To make this project work we first had to find a good idea and then make tons of sketches to see how we want it to look and where everything should be placed. Before we could use the scratchboard though we have to draw it on a black sheet of paper then trace it on to the scratchboard. Their are a couple of steps but it definitely helped it balance and make it turn out as nice as it did. 4)To imply movement in my project I showed two pigs jumping into the mud puddle they were playing in. To make it look like they were jumping I added lines around their feet to show the mud splashing as the pigs are jumping in. 5)I could improve my artwork by not rushing as much. This would help me make more things stand out and not have everything kind of blend together. 6)I used values more in some places than others. with the clouds and the mud puddle and with the pigs I had some value transitions. The grass however is all the same shade and it blended in with the fence so I tried to brighten up the bottom of the fence pieces where the sun would be hitting to make it stand out a little more.
0 Comments
Self portrait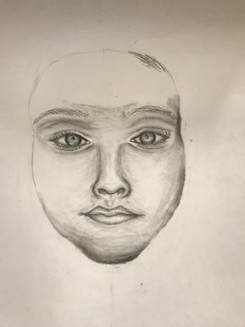 1)To develop this drawing it took a lot of practice. We spent a day on every facial feature and placement. This helped during our final so we knew the measurements but the hard thing is getting it to look like you. 2)To get the different values I focused a lot on the shadows of my face and where the light hit my face that's where my highlights were. 3)I got a good range of values around the face really showing the shadows. but on the cheeks and forehead I feel like I could have put more value into it. Value is very necessary in this project because with your nose and lips its not flat so it makes it look lifted.  4)I feel that if I would have spent more time on blending and adding more values it would look more realistic and also more neatly done. 5)To capture my look it was easier to do that with having a photo reference. Even though I had a photo to rely on it was very difficult to actually draw what I see rather than what I think it looks like. 6)It was easier to have correct facial feature placement because we did spend a day in class learning where everything goes and gets placed on the face. During the process I also used this little paper to help with the measurement on the nose. That was helpful but my nose was still a little off. 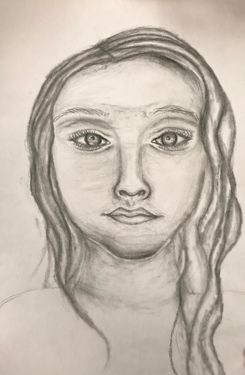 7)It is very important to learn the facial features individually because they all have certain steps to make them look realistic. Also doing them all different days we got lots of practice with each. We would draw our neighbors and then draw our own and then with the nose and lips we did different angles. 8)I think everything about this unit was beneficial because I got to learn and practice drawing the correct way of all the facial features. Also learned how to make them look really realistic and the more you draw these the better you get. 9)One of my biggest obstacles was getting the shape of my eye right because that really is important in making the drawing looking like you. And everyone's eye shape is different but to overcome that I looked really closely to the picture and practiced more than the others and it got better. 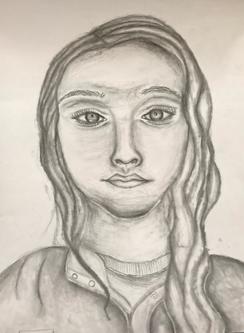 skull drawing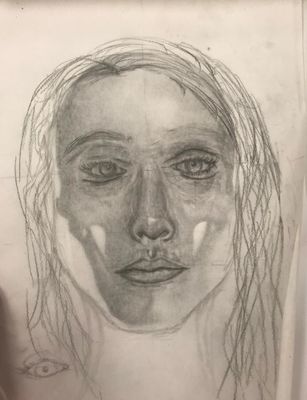 For this activity we had a skull print out with like tracing paper taper over it. This really helped us practice the placement of where our facial features go. This isn't finished because we did really have a lot of time but this did help me a lot before the actual self portrait.
|
AuthorWrite something about yourself. No need to be fancy, just an overview. Archives
January 2018
Categories |
 RSS Feed
Photo used under Creative Commons from mripp
